Centos开发环境
参考链接
Env & Proxy
切换默认shell chsh -s /bin/bash root
配代理
1
2
3
4
5
6
export http_proxy=http://xxxexport https_proxy=http://xxxexport HTTP_PROXY=http://xxxexport HTTPS_PROXY=http://xxxexport no_proxy="localhost,127.0.0.1,localaddress,localdomain.com,xxx” export NO_PROXY=" localhost,127.0.0.1,localaddress,localdomain.com,xxx"
注意:在sudo或切换用户时代理会失效,可以通过 visudo 保留代理环境变量
1 2 3 4 Defaults env_reset Defaults env_keep = "http_proxy ftp_proxy"
centos换源
1
2
3
4
5
cd /etc/yum.repos.dwget -O /etc/yum.repos.d/CentOS-Base.repo http://mirrors.aliyun.com/repo/Centos-7.repo yum clean all yum makecache
环境变量添加第三方库
1 2 3 4 5 6 7 8 9 10 export PATH =$PATH :/MyBinexport C_INCLUDE_PATH=$C_INCLUDE_PATH :/usr/include/xxxexport CPLUS_INCLUDE_PATH=$CPLUS_INCLUDE_PATH :/usr/include/xxxexport LD_LIBRARY_PATH=$LD_LIBRARY_PATH :/MyLibexport LIBRARY_PATH=$LIBRARY_PATH :/MyLib
Vim 1. 安装 Vim-plug 插件
下载 plug.vim 文件,放置在 ~/.vim/autoload 目录中:
1
2
mkdir -p ~/.vim/autoload/cp plug.vim ~/.vim/autoload/plug.vim
2. 配置Vim,执行 :PlugInstall 安装主题
Folding
1
2
3
4
5
6
7
8
9
10
11
12
13
14
15
16
17
18
19
20
21
22
23
24
25
26
27
28
29
30
31
32
33
34
35
36
37
38
39
40
41
42
43
44
45
46
47
48
49
50
51
52
53
54
55
56
57
58
call plug#begin('~/.vim/plugged') Plug 'sainnhe/sonokai' call plug#end() " 关闭对vi的兼容 set nocompatible " 设置backspace键功能 set backspace=eol,start,indent " 显示行号 set number " 高亮显示当前行 set cursorline " 让一行的内容不换行 set nowrap " 距窗口边缘还有多少行时滚动窗口 set scrolloff=8 " tab设为4个空格 set tabstop=2 set shiftwidth=2 set softtabstop=2 set expandtab set smarttab " 新一行与上一行的缩进一致 set autoindent " 开启语法高亮 syntax on " 代码颜色主题 set t_Co=256 colorscheme sonokai " 显示括号匹配 set showmatch " 高亮查找匹配 set hlsearch " 增量式搜索 set incsearch " 不区分大小写,除非含有大写字母 set ignorecase set smartcase " 检测文件类型 filetype on " 文件编码 set encoding=utf-8 set fileencodings=ucs-bom,utf-8,utf-16,gbk,big5,gb18030,latin1 " 没有保存或文件只读时弹出确认 set confirm " 记录历史记录的条数 set history=1000 set undolevels=1000 " 禁用自动备份 set nobackup set nowritebackup set noswapfile
Bash Bash 的彩色配色主题,将 ~/.bashrc 中的 PS1 替换:
1 PS1='${debian_chroot:+($debian_chroot)}\[\033[00;33m\][\u@\h]\[\033[00m\]:\[\033[00;36m\]\w\[\033[00m\]\$ '
GCC CentOS 7 默认 gcc 版本为 4.8,可通过 devtoolset 工具安装多个不同的高版本 gcc 备用切换
可以通过 yum search devtooset 查看其他版本安装,devtoolset 安装目录为 /opt/rh/devtoolset-x
1 2 3 4 5 6 7 8 9 10 11 12 13 yum install centos-release-scl yum install devtoolset-9-gcc vim /etc/profile source /opt/rh/devtoolset-9/enablesource /etc/profilemv /usr/bin/g++ /usr/bin/g++.bakln -s /opt/rh/devtoolset-11/root/usr/bin/g++ /usr/bin/g++gcc --version
GDB 官网 Download GDB 获取最新版 gdb-x.x.tar.gz 下载地址
1
2
3
4
5
6
wget https://ftp.gnu.org/gnu/gdb/gdb-11.2.tar.gz tar -zxvf gdb-11.2.tar.gz cd gdb-11.2/./configure make && make install gdb --version
Make 官网 Index of /gnu/make 获取最新版 make-x.x.tar.gz 下载地址
1
2
3
4
5
6
7
8
9
10
11
12
wget https://ftp.gnu.org/gnu/make/make-4.3.tar.gz tar -zxvf make-4.3.tar.gz cd make-4.3/./configure --prefix=/usr/local/make make && make install mv /usr/bin/make /usr/bin/make.bakln -s /usr/local/make/bin/make /usr/bin/makemake -v
CMake 1. 二进制方式安装
1 2 3 4 5 6 7 8 9 10 cd /usr/local/srccurl -LO https://github.com/Kitware/CMake/releases/download/v3.22.2/cmake-3.22.2-linux-x86_64.tar.gz tar -xvf cmake-3.22.2.tar.gz mv cmake-3.22.2 /usr/local/cmakevim /etc/profile export PATH="/usr/local/cmake/bin:$PATH " source /etc/profilecmake --version
2. 源码安装
官网 Download | CMake 获取最新版 cmake-x.xx.x.tar.gz 下载地址
1
2
3
4
5
6
7
8
9
10
11
12
13
14
15
16
wget https://github.com/Kitware/CMake/releases/download/v3.23.0/cmake-3.23.0.tar.gz tar -zxvf cmake-3.23.0.tar.gz cd cmake-3.23.0/./configure --prefix=/usr/local/cmake make && make install yum -y remove cmake ln -s /usr/local/cmake/bin/cmake /usr/bin/cmakevim /etc/profile export CMAKE_HOME=/usr/local/cmakeexport PATH=$PATH :$CMAKE_HOME /binsource /etc/profilecmake --version
CMake Error:Could not find OpenSSL 报错,可通过以下命令解决:yum install openssl-devel
Gflags 1 2 3 4 git clone https://github.com/gflags/gflags.git && cd gflags mkdir build && cd buildcmake .. -DBUILD_SHARED_LIBS=ON make && make install
Glog 1 2 3 4 git clone https://github.com/google/glog.git && cd glog cmake -S . -B build -G "Unix Makefiles" cmake --build build cmake --build build --target install
Gtest 1 2 3 4 git clone https://github.com/google/googletest.git && cd googletest mkdir build && cd buildcmake .. make && make install
Mysql 1. 命令安装
1 sudo apt install mysql-server
通过apt安装的mysql已经默认开启服务,服务名叫做mysql,而非mysqld
2. 登陆Mysql
方法一:sudo mysql
方法二:查看默认用户密码登陆
1 2 sudo cat /etc/mysql/debian.cnfmysql -u debian-sys-maint -p
3. 本地Root用户
修改一个host字段为 localhost 的 root 用户密码(localhost 表示本机登录)
不需授予访问权限,因为默认已有
1 2 ALTER USER 'root' @'localhost' IDENTIFIED WITH mysql_native_password BY '新密码' ; FLUSH PRIVILEGES;
4. 远程Root用户
创建一个 host 字段为 % 的 root 用户(% 表示远程登陆)
授权所有数据库的访问权限
1 2 3 create user 'root' @'%' identified by 'yourpassword' ; GRANT ALL PRIVILEGES ON *.* TO 'root' @'%' WITH GRANT OPTION; FLUSH PRIVILEGES;
1 2 3 4 sudo systemctl stop mysqlsudo vim /etc/mysql/mysql.conf.d/mysqld.cnfsudo service mysql start
5. 查看用户信息
1 2 use mysql select host,user,authentication_string from user;
6. 常用命令
服务状态管理
1 2 3 4 service mysql status service mysql start service mysql restart service mysql stop
卸载 MySQL
1 2 3 4 5 6 7 8 sudo apt-get remove mysql-commonsudo apt-get autoremove --purge mysql-server-5.7sudo apt-get autoremove mysql-serverdpkg -l |grep ^rc|awk '{print $2}' |sudo xargs dpkg -P sudo apt-get autoremove --purge mysql-apt-config
Redis
使用 C++ SDK Hiredis 访问 redis Redis Stream
1. 下载源码解压 http://download.redis.io/releases/redis-5.0.5.tar.gz 2. 编译 3. 安装 4. 更改配置
1 2 3 4 5 6 7 8 9 10 11 12 13 daemonize yes protected-mode no requirepass <password> save ""
5. 配置环境变量 6. 启动脚本
Folding
./redis start|stop|restart
1 2 3 4 5 6 7 8 9 10 11 12 13 14 15 16 17 18 19 20 21 22 23 24 25 26 27 28 29 30 31 32 33 34 35 36 37 38 39 40 41 42 #!/bin/bash REDISPORT=6379 PATH=/usr/local/bin:/sbin:/usr/bin:/bin EXEC=/usr/local/redis/bin/redis-server REDIS_CLI=/usr/local/redis/bin/redis-cli PIDFILE=/var/run/redis_$REDISPORT .pid CONF="/usr/local/redis/bin/redis.conf" case "$1 " in start) if [ -f $PIDFILE ]; then echo "$PIDFILE exists, process is already running or crashed" else echo "Starting Redis server..." $EXEC $CONF fi if [ "$?" ="0" ]; then echo "Redis is running..." fi ;; stop) if [ ! -f $PIDFILE ]; then echo "$PIDFILE does not exist, process is not running" else PID=$(cat $PIDFILE ) echo "Stopping ..." $REDIS_CLI -p $REDISPORT SHUTDOWN while [ -x ${PIDFILE} ]; do echo "Waiting for Redis to shutdown ..." sleep 1 done echo "Redis stopped" fi ;; restart) ${0} stop ${0} start ;; *) echo "Usage: $0 {start|stop|restart}" >&2 exit 1 esac
Anaconda 1. 环境管理
1 2 conda create --name py34 python=3.4
1 2 3 4 5 activate py34 source activate py34
1 2 3 4 5 deactivate source deactivate
1 conda remove -n py34 --all
2. 包管理
1 2 3 conda config --add channels https://mirrors.tuna.tsinghua.edu.cn/anaconda/pkgs/free/ conda config --add channels https://mirrors.tuna.tsinghua.edu.cn/anaconda/pkgs/main/ conda config --set show_channel_urls yes
进入指定的环境中进行包的安装,以pandas包为例
1 2 3 4 5 6 7 8 conda list conda search pandas conda install pandas conda update pandas conda remove pandas
使用conda来管理conda和python的版本( 都视为包 )
1 2 3 4 conda update conda conda update anaconda conda update python
软件激活 Navicat
指令下载过程中容易失败,手动下载或挂梯子
注意教程中指令的工作目录
下载官方版
激活Ubuntu 或Win10 平台
Vscode MonoKai Pro
生成license key
1 2 email=yourMail@mail.com echo -n fd330f6f-3f41-421d-9fe5-de742d0c54c0$email | md5sum | cut -c1-25 | sed 's/.\{5\}/&-/g;s/-$//g'
打开VS Code的命令面板,ctrl+shift+p
输入 Monokai Pro: enter license
依次输入 email 和 lincese key
gpedit.msc 1 2 3 4 5 6 @echo off pushd "%~dp0" dir /b %systemroot%\Windows\servicing\Packages\Microsoft-Windows-GroupPolicy-ClientExtensions-Package~3*.mum >gp.txt dir /b %systemroot%\servicing\Packages\Microsoft-Windows-GroupPolicy-ClientTools-Package~3*.mum >>gp.txt for /f %%i in ('findstr /i . gp.txt 2^>nul') do dism /online /norestart /add-package:"%systemroot%\servicing\Packages\%%i" pause
Windows相关 1. 安全模式启动
WIN + R -> msconfig 打开系统配置
引导 -> 安全引导 -> 重启即进入安全模式
常规 -> 正常启动 -> 重启即进入正常系统
2. 卸载 ESET
在安全模式下,打开终端运行 esetuninstaller.exe,按提示操作
3. 环境变量生效
4. Edge/Chrome切换最近标签页
需求:按ctrl+tab切换最近两个标签页
问题:默认只能每次切换到下一个标签页,且不允许被扩展的切换标签页快捷键所覆盖
解决:安装QuicKey ,按页面中 Option 1 的步骤执行(最后用开发者工具设置扩展快捷键)
MacOS相关 1. 删除ABC输入法 链接1 链接2
Ubuntu相关 1. 无法访问部分网页
问题描述:双系统win可以,但Ubuntu很多网页如CSDN无法访问
解决方案:Ubuntu网卡的MTU设置不当,改为1412(尝试值)即可
1 2 3 4 5 6 7 8 9 ifconfig sudo ifconfig wlp0s20f3 mtu 1412 sudo vim /etc/network/if-up.d/setmtuifconfig "$IFACE " mtu 1412 sudo chmod a+x /etc/network/if-up.d/setmtu
2. 开关机异常缓慢
1 2 sudo systemctl mask plymouth-quit-wait.service
1 2 3 4 5 6 7 sudo vim /etc/systemd/system.confDefaultTimeoutStartSec=1s DefaultTimeoutStopSec=1s sudo systemctl daemon-reloadsudo reboot
3. 双系统扩容 参考流程 与 gparted使用方法
启动盘进入系统,使用自带的gparted分区工具
将多余空间分区并格式化
通过一系列对未分配分区的调换,移到待扩容分区后方相邻合并
4. Linux开机挂载硬盘
1 2 3 4 5 6 sudo vim /etc/fstabUUID=[1] [2] [3] defaults 0 1 mount -a
通过sudo blkid查看C盘UUID,如C8086A73086A6104
挂载目录如/media/yveltal/LENOVO
文件系统类型,如win为ntfs
5. 通过tar包安装应用
解压下载文件并移动到安装文件夹内/opt/demo
为启动文件建立软Link(注意修改.sh中路径)
1 2 sudo ln -s /opt/demo/run.sh /usr/bin/demo
添加第三方软件图标 sudo vim /usr/share/applications/demo.desktop
1 2 3 4 5 6 7 8 [Desktop Entry] Encoding=UTF-8 Name=demo Exec=demo Icon=/opt/demo/icon.png Terminal=false Type=Application Categories=Development;
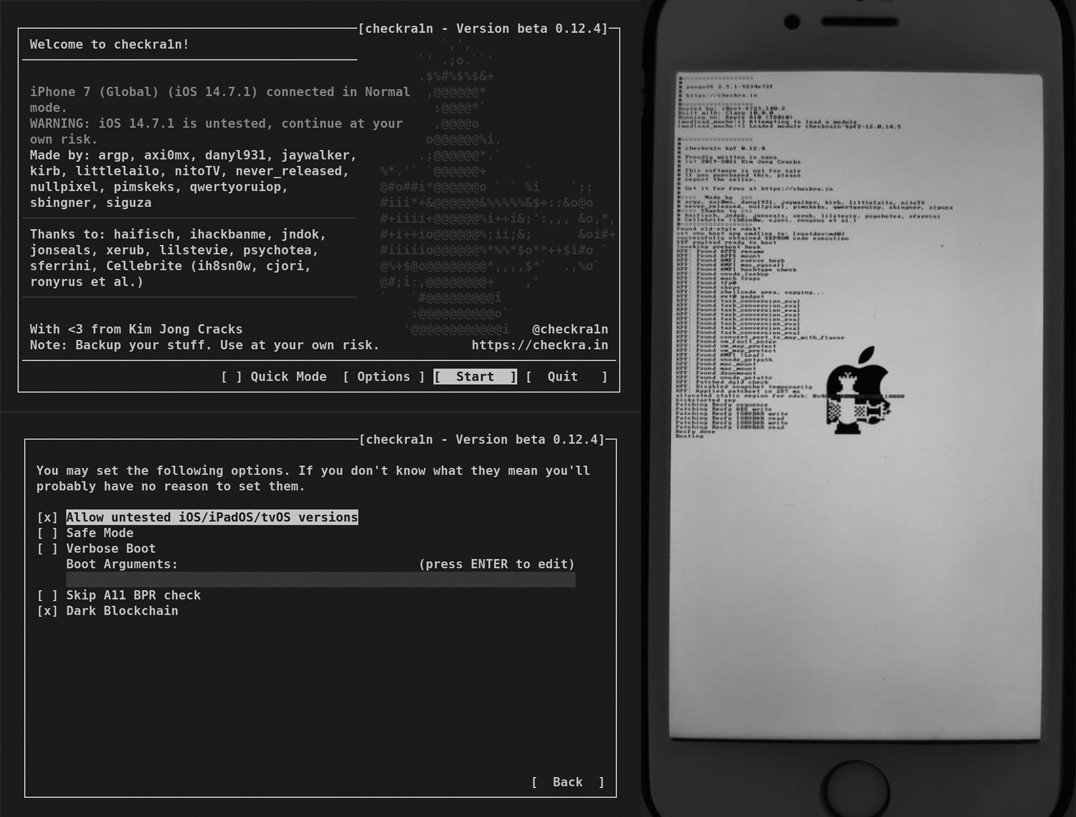
IOS相关 1. IOS越狱
下载 Linux x86_64版本chmod 777 ,sudo ./checkra1n
设置允许越狱未测试的iOS新版本
开机后用4G安装Cydia
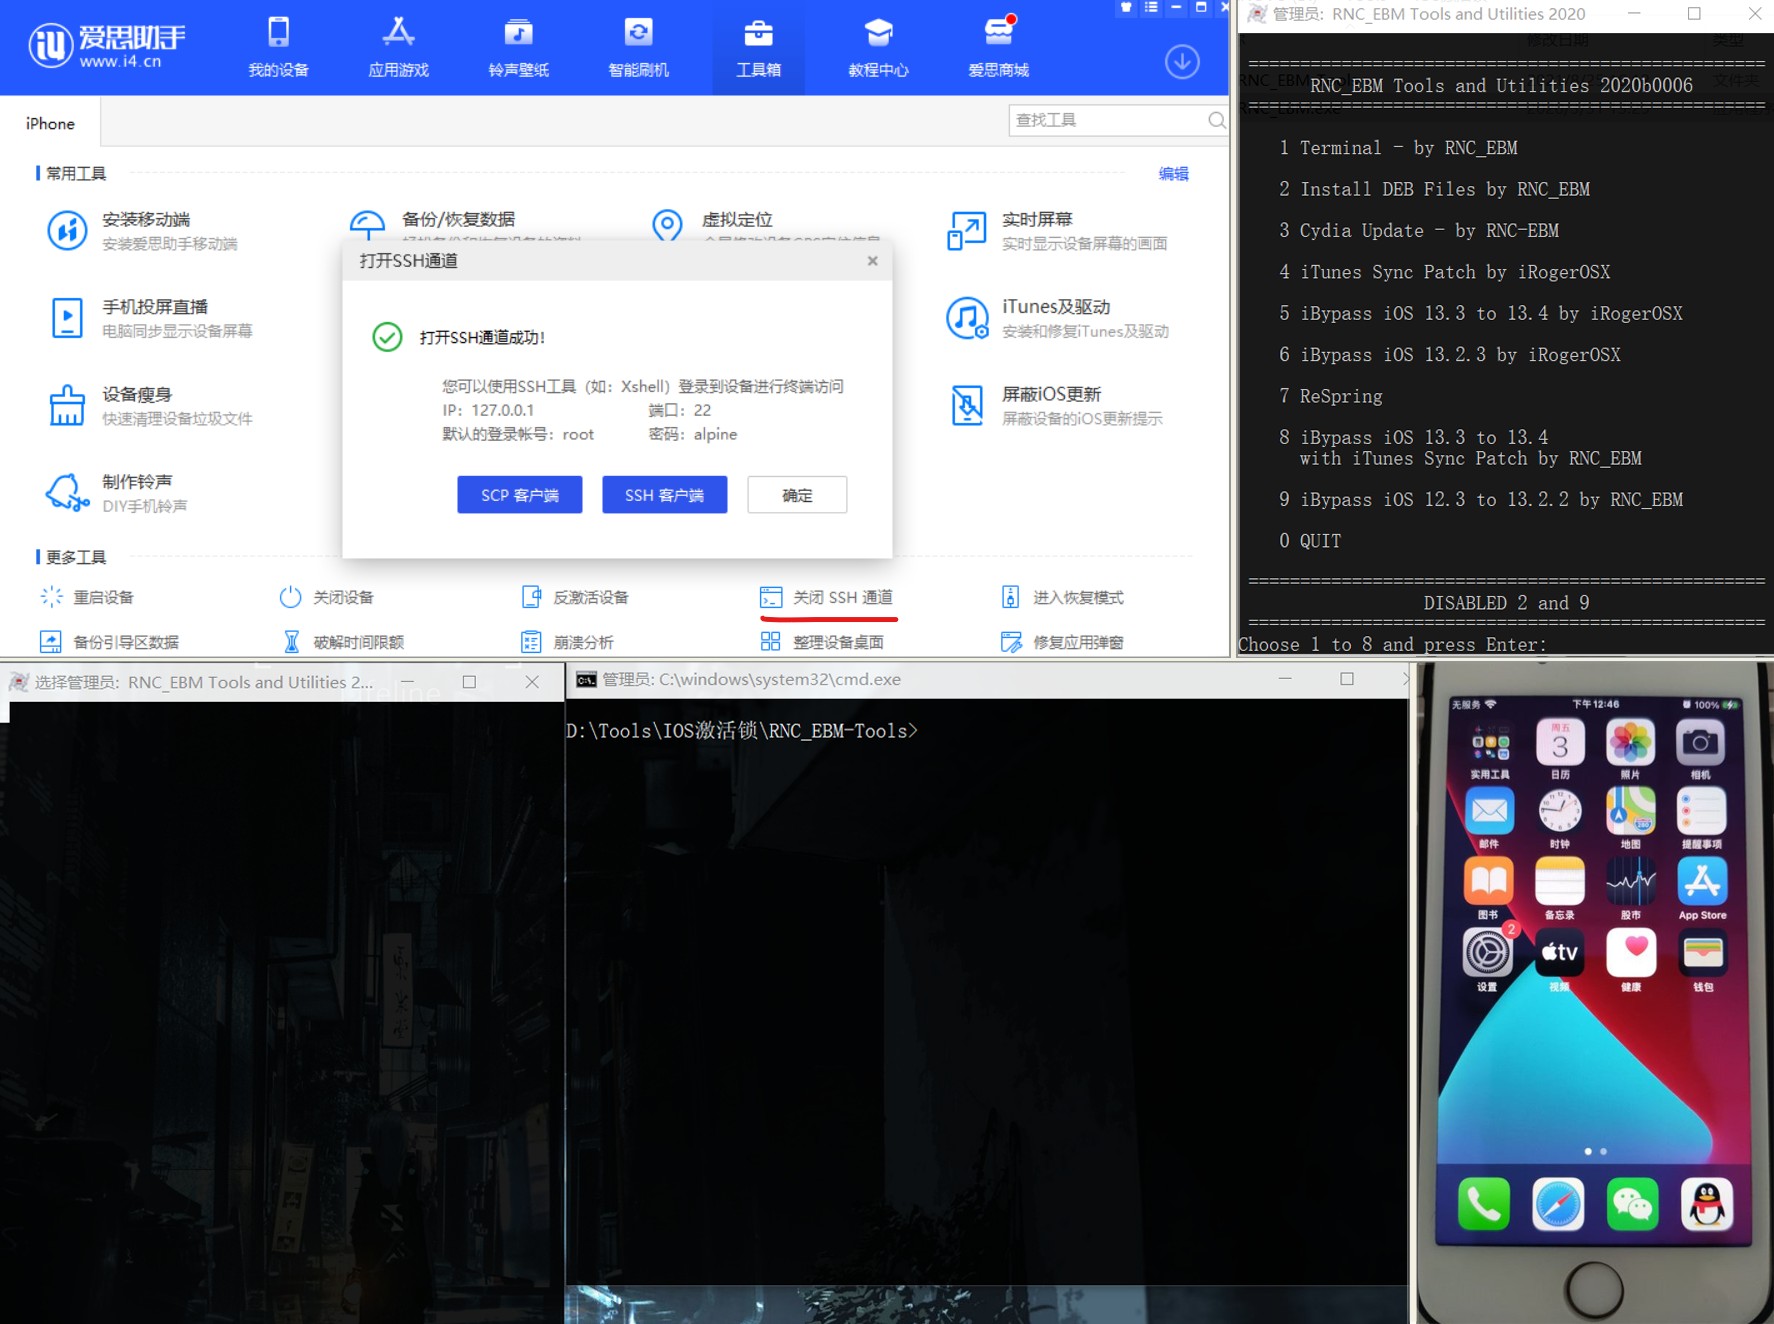
2. IOS跳ID锁
Android相关 1. 去APK弹窗
MT管理器查看apk,用dex编辑器++打开dex文件(全选)
搜索内容show,搜索类型代码 (或搜弹窗内容等)
找到类似invoke-virtual{v0},LandroidlapplAlertDialog$Builder;->show()Landroidl...
点击跳转到相应代码,用#注释该句
2. 去APK浮窗
同理搜索相应浮窗内容,搜索类型字符串
跳转将对应方法注释
Other Rec Mono 字体
1 2 3 "editor.fontLigatures" : "'dlig','ss01'" , "editor.fontFamily" : "\"Rec Mono Linear\", monospace" ,
图片压缩
1 jpegoptim --size=700k xxxx.jpg